Understanding Ductless Mini Split Systems
What is a Ductless Mini Split?
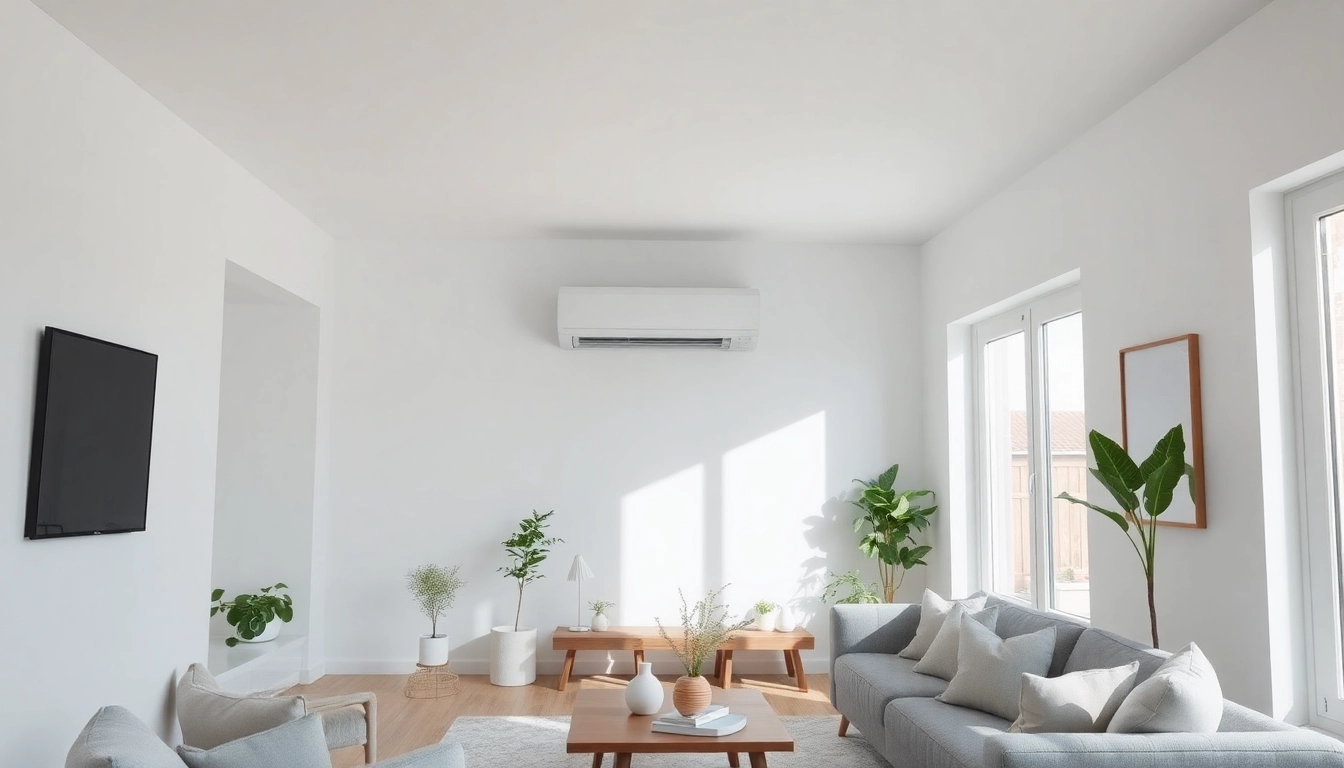
Ductless mini split systems are versatile HVAC units designed to provide efficient heating and cooling without the complex ductwork associated with traditional systems. These systems consist of two primary components: an outdoor compressor and one or more indoor air handling units. The design allows for flexible installation, making them ideal for homes, offices, or spaces where ductwork would be impractical or too expensive. The operation of a ductless mini split system is based on the principle of heat exchange, making it an energy-efficient choice for maintaining comfortable indoor temperatures.
Benefits of Ductless Mini Split Installation in Nashville
Homeowners in Nashville are increasingly opting for ductless mini split systems due to their numerous advantages. Firstly, they offer significant energy savings. Without the energy losses typically associated with ductwork, these systems can operate at a higher efficiency level. Secondly, the installation process is less invasive, which translates to lower labor costs and makes it a quicker option. Thirdly, zoning capabilities allow for different areas of your home or business to be heated or cooled independently, maximizing comfort and energy use. The Ductless mini split installation Nashville caters well to local climate variations, effectively managing humidity and providing comfort year-round.
Key Components of a Ductless Mini Split System
A ductless mini split system has several essential components that work together to deliver effective heating and cooling:
- Indoor Unit: This is the part of the system installed inside the home. It includes an evaporator coil, fan, and air filter, which are responsible for distributing conditioned air.
- Outdoor Unit: Home to the compressor and condenser, this component is crucial as it dissipates heat during cooling and absorbs heat during heating.
- Refrigerant Lines: These insulated pipes connect the indoor and outdoor units, allowing the refrigerant to flow and enable the heat exchange process.
- Remote Control: Most ductless mini splits come with a remote control or wall-mounted thermostat for easy temperature adjustments and settings.
Preparing for Your Ductless Mini Split Installation
Assessing Your Home’s Needs
Before proceeding with installation, it is critical to assess your home’s specific heating and cooling requirements. Consider factors such as square footage, ceiling height, insulation levels, and the regional climate of Nashville, including hot summers and mild winters. Evaluating these needs will help determine the number of indoor units needed and the appropriate capacity for each unit.
Choosing the Right System Size
Choosing the right size for your ductless mini split system is crucial for optimal performance and efficiency. A system that is too small will struggle to maintain the desired temperature, while one that is too large can lead to short cycling, increased energy costs, and discomfort. The sizing process typically involves calculating the British Thermal Unit (BTU) requirements based on your home’s layout and insulation. It may be beneficial to consult with a professional to ensure accurate sizing.
Finding the Ideal Installation Location
The location of both the indoor and outdoor units can significantly affect the system’s efficiency. Indoor units should be placed where they can provide optimal airflow and coverage. Consider areas that are used frequently and are farthest from existing heating or cooling sources. As for the outdoor unit, it should be installed in a shaded area to prevent overheating and ensure adequate airflow for efficient operation.
Steps to Successful Ductless Mini Split Installation
Gathering Necessary Tools and Materials
Before starting the installation process, gather all necessary tools, which typically include a drill, level, wrench set, measuring tape, and any specific installation kits that may come with your ductless mini split system. Having all materials ready can enhance efficiency and ensure that tasks progress smoothly.
Step-by-Step Installation Process
The installation of a ductless mini split involves several steps:
- Mount the Indoor Unit: Locate the ideal spot, then level and mount the interior bracket. Ensure the unit is level for optimal drainage.
- Drill the Hole: Create a hole through the wall for the refrigerant lines, ensuring it is at a slight downward angle towards the exterior to facilitate drainage.
- Install the Outdoor Unit: Position the outdoor unit on a stable surface, elevate it if necessary, and ensure there is proper clearance for airflow.
- Connect the Lines: Connect the refrigerant lines from the indoor unit to the outdoor unit, ensuring all connections are secure to prevent leaks.
- Electrical Connections: Make the necessary electrical connections, ensuring safety protocols are followed. Consult the installation manual for specifics related to your unit.
- Test the System: After everything is connected, turn on the system and test for proper operation and leaks. Check the airflow and temperature to ensure efficiency.
Safety Precautions to Consider
Safety is paramount during installation. Always wear appropriate safety gear, including gloves and goggles. Ensure the power is turned off before making any electrical connections. Additionally, follow the manufacturer’s instructions carefully to avoid damaging the equipment or voiding warranties. If at any point you are uncertain, it is wise to consult with a professional installer.
Post-Installation: Ensuring Optimal Performance
How to Operate Your Ductless Mini Split Efficiently
Once your ductless mini split system is installed, operating it efficiently is key to maximizing its lifespan and efficiency. Set the thermostat to comfortable temperatures, ideally between 72-78 degrees Fahrenheit for cooling and 68-72 degrees for heating. Take advantage of the zoning capability to manage temperatures in different rooms according to usage.
Regular Maintenance Tips for Longevity
Regular maintenance is essential for ensuring your system operates efficiently over the long term. Here are some key maintenance practices:
- Clean or Replace Air Filters: Depending on usage, filters should be cleaned every 2-4 weeks and replaced when necessary to maintain airflow and efficiency.
- Check for Blockages: Ensure that the indoor and outdoor units are free from obstructions such as dirt, leaves, or debris that could impede airflow.
- Inspect Refrigerant Levels: Low refrigerant levels can cause the system to underperform. Professional servicing should be scheduled at least once a year to check these levels.
Troubleshooting Common Issues
Despite proper installation and maintenance, issues can still arise. Here are some common problems and their solutions:
- Unit Doesn’t Cool/Heat: Check the thermostat settings and ensure filters are clean. If the issue persists, inspect refrigerant levels.
- Unusual Noises: Sounds like rattling, buzzing, or grinding may indicate loose parts or debris in the fan. These should be addressed immediately to prevent further damage.
- Foul Odors: Unpleasant smells may indicate mold or mildew in the filters or ducts. Regular cleaning can mitigate this issue.
Why Choose Professional Ductless Mini Split Installation in Nashville?
The Importance of Professional Expertise
While DIY projects may be tempting, the installation of a ductless mini split is best left to professionals. Their expertise ensures that the installation complies with local codes and manufacturer specifications. Additionally, they possess the technical knowledge to make nuanced decisions that can significantly impact the system’s performance.
Cost Considerations and Budgeting
Understanding the costs associated with ductless mini split installation in Nashville is crucial for effective budgeting. Prices generally vary based on the unit’s capacity, the number of units needed, and installation complexity. However, investing in professional installation can save money in the long run through enhanced efficiency and reduced energy costs. It is advisable to obtain multiple quotes to compare services and pricing effectively.
Choosing the Right Installation Service
When selecting a professional installation service, consider factors such as experience, customer reviews, and service offerings. Look for contractors who specialize in ductless mini split systems, as their familiarity will ensure high-quality work. Additionally, verify that the company is licensed and insured to provide peace of mind regarding safety and reliability.